
BLACK TIPI Instruction Manual
▼Watch the setup & takedown video▼

▼View installation instructions with images▼

STEP 1. Verify contents
Contents: Flysheet x1, inner tent x1, main pole x1, sub-poles x2, pegs x12, guy ropes x12, tent fastener x1, various storage bags

STEP 2. Setting up the inner tent
Decide on the position and spread out the inner tent.
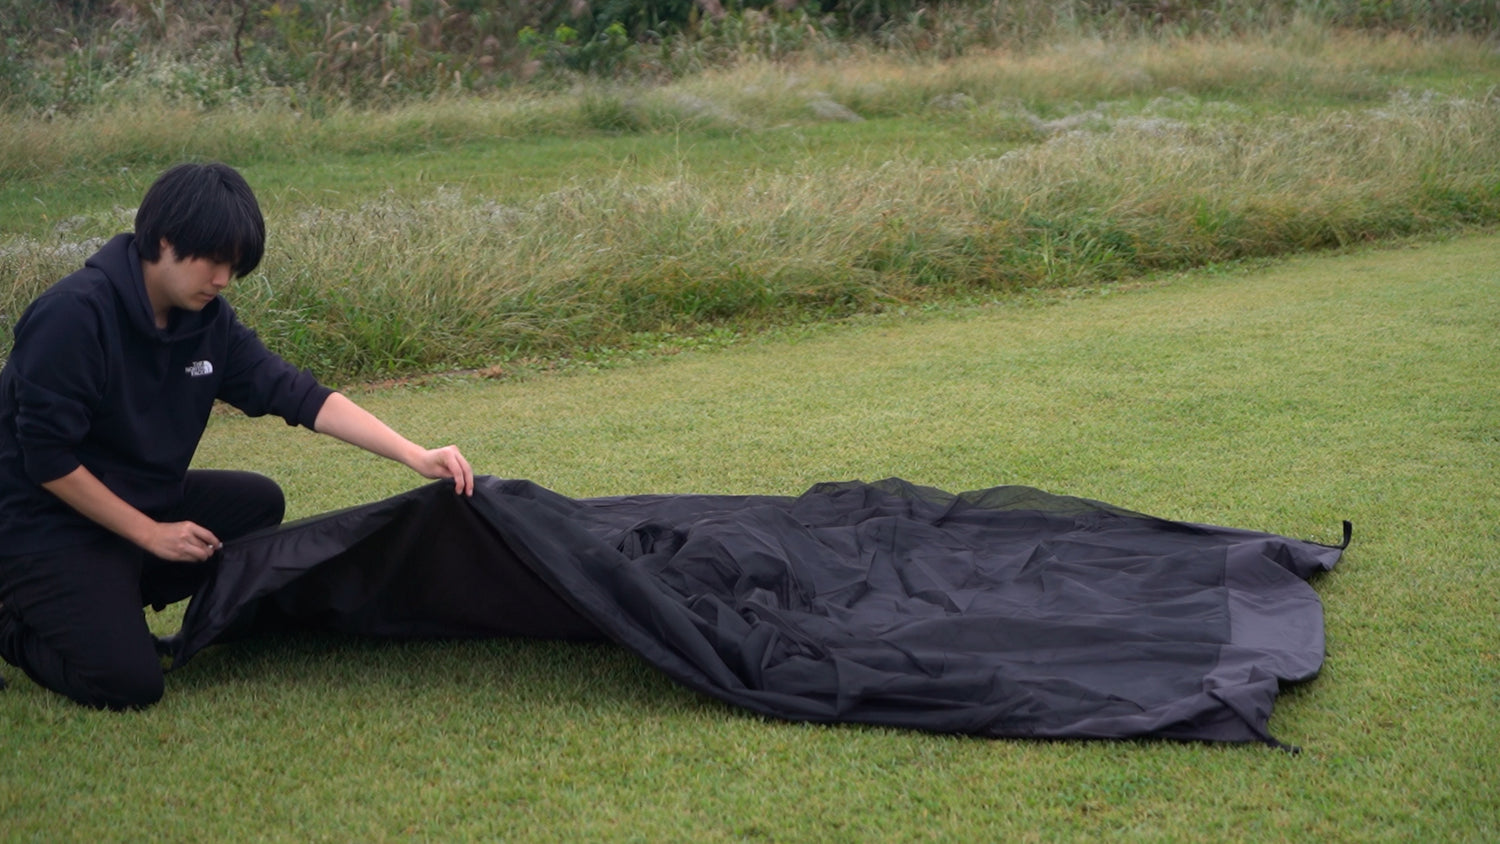
The side with the zipper should face the front of the tent.
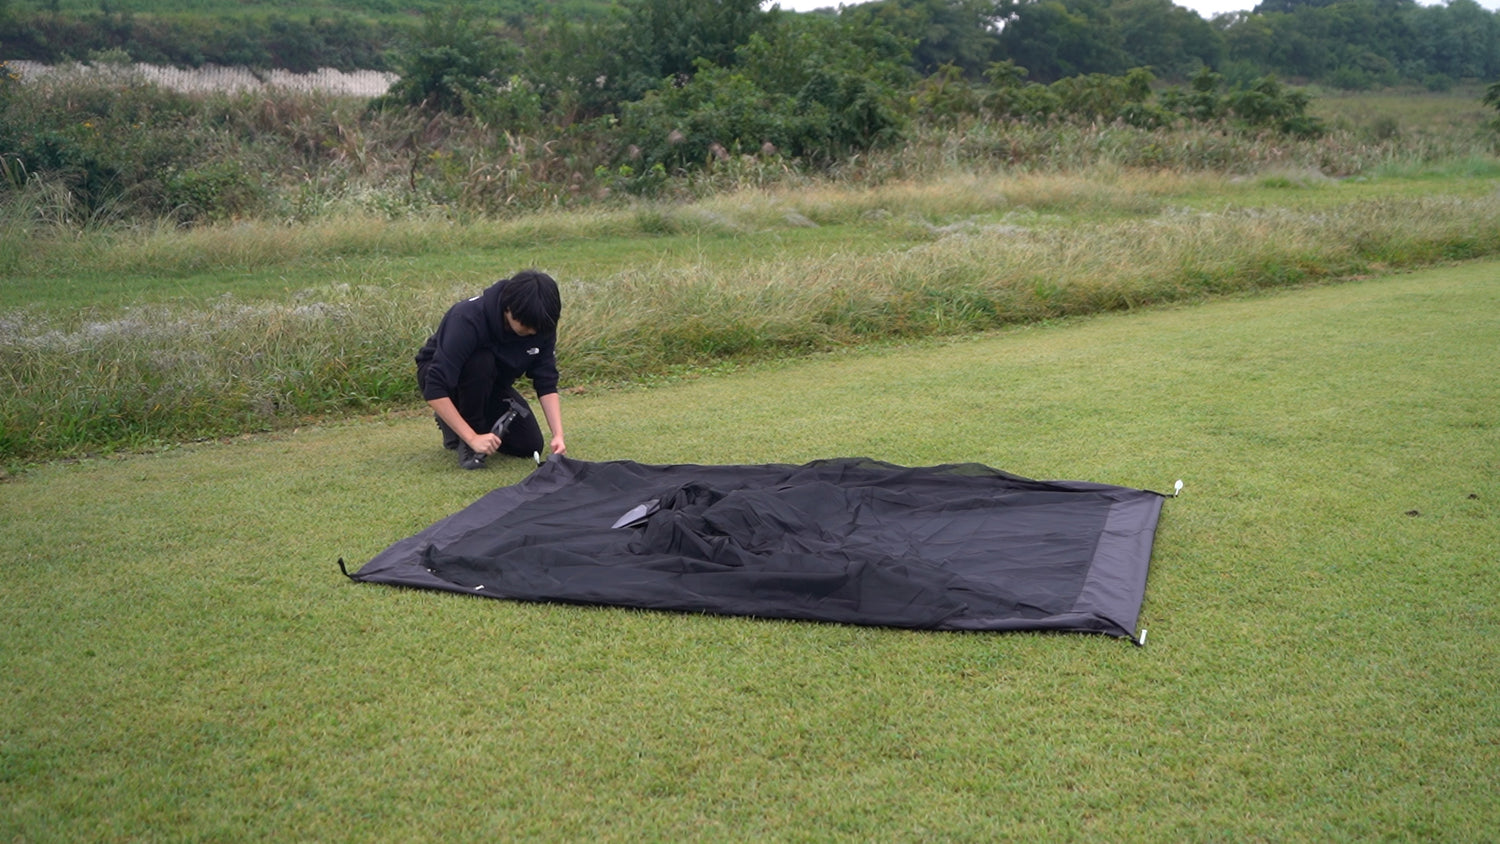
Peg down the 4 corners of the inner tent

Please peg it down securely so that it is pulled taut.
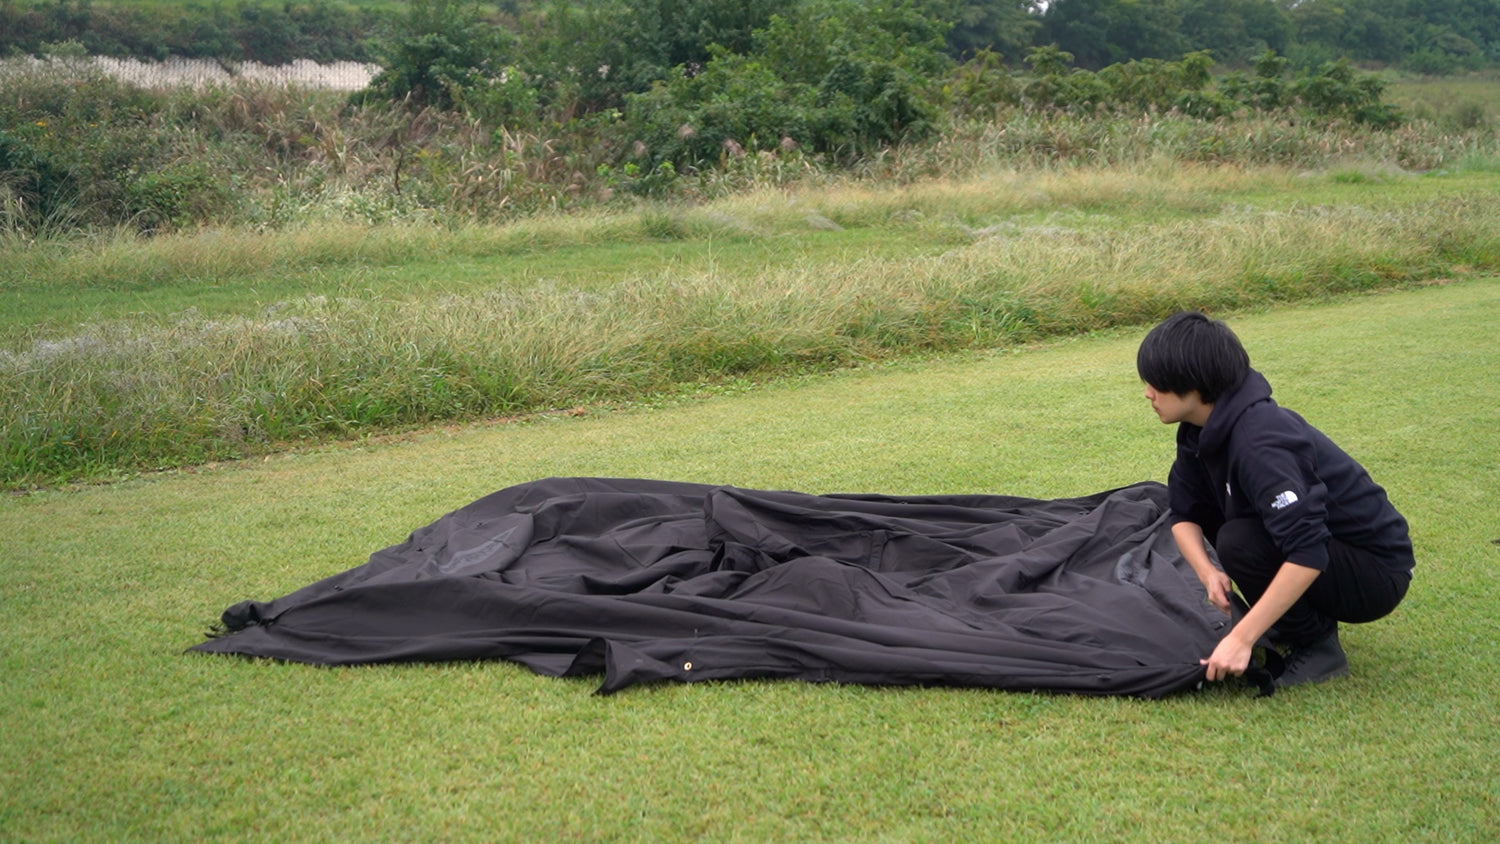
STEP 3. Setting up the rainfly
Cover the set-up inner tent with the flysheet
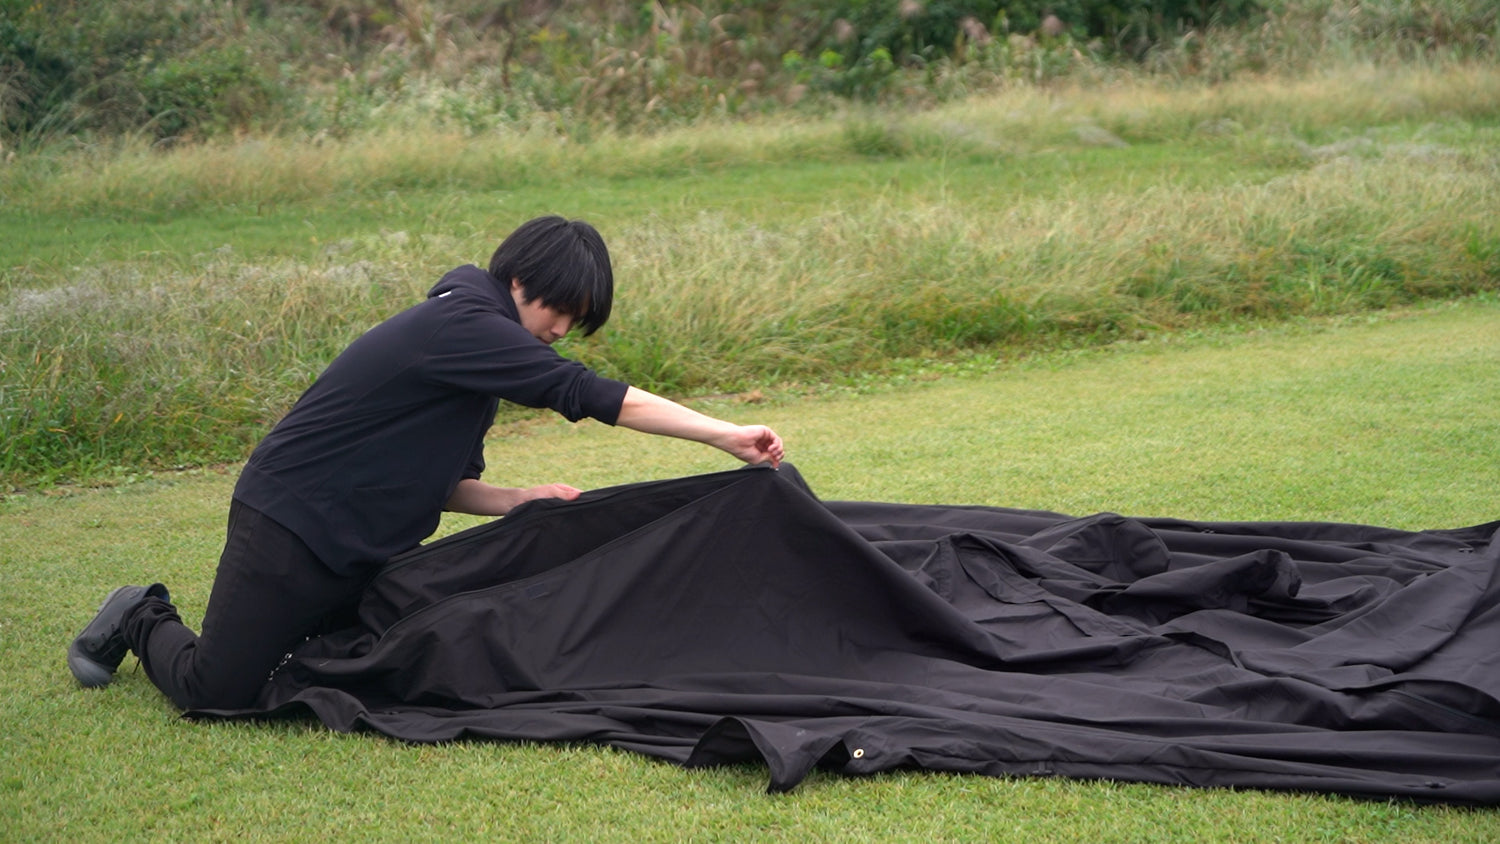
The side with the zipper should face the front, so please cover it in alignment with the direction of the inner tent.
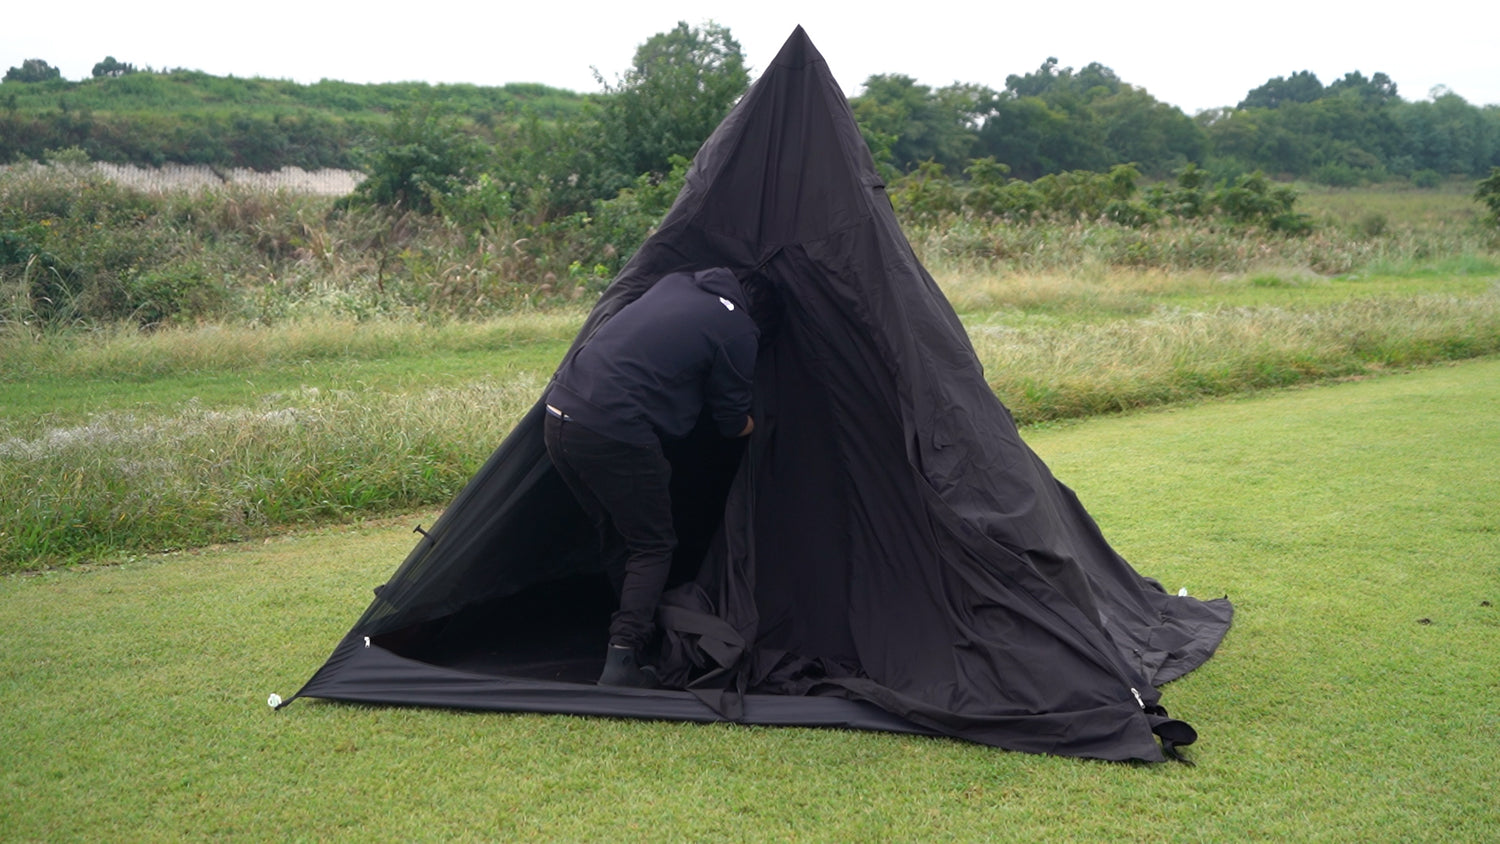
From inside the tent, align the apex of the inner tent with the flysheet and set up the poles.
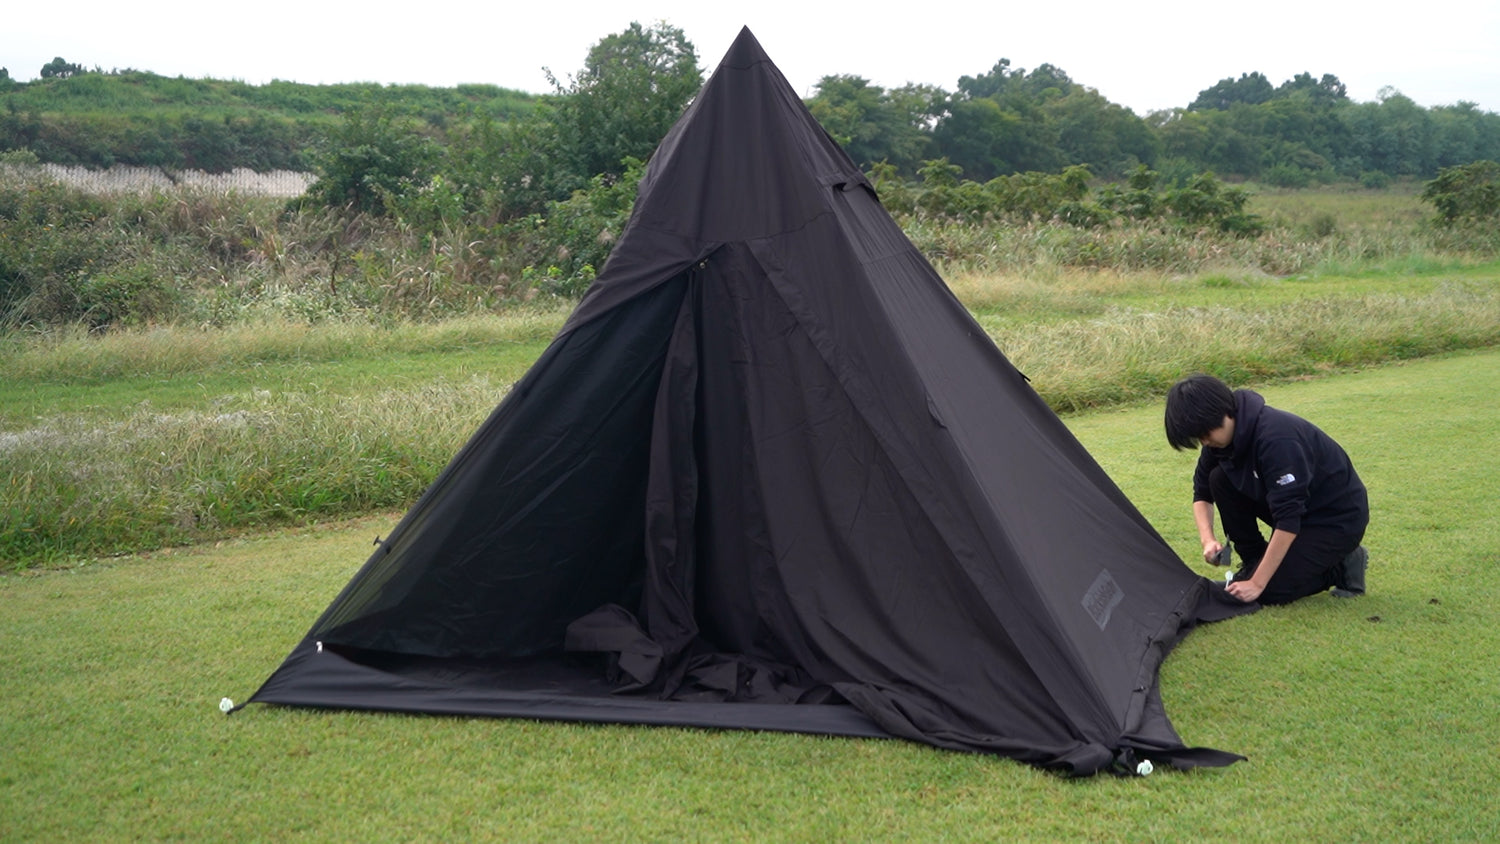
Stake down the four corners of the flysheet, pulling them taut.
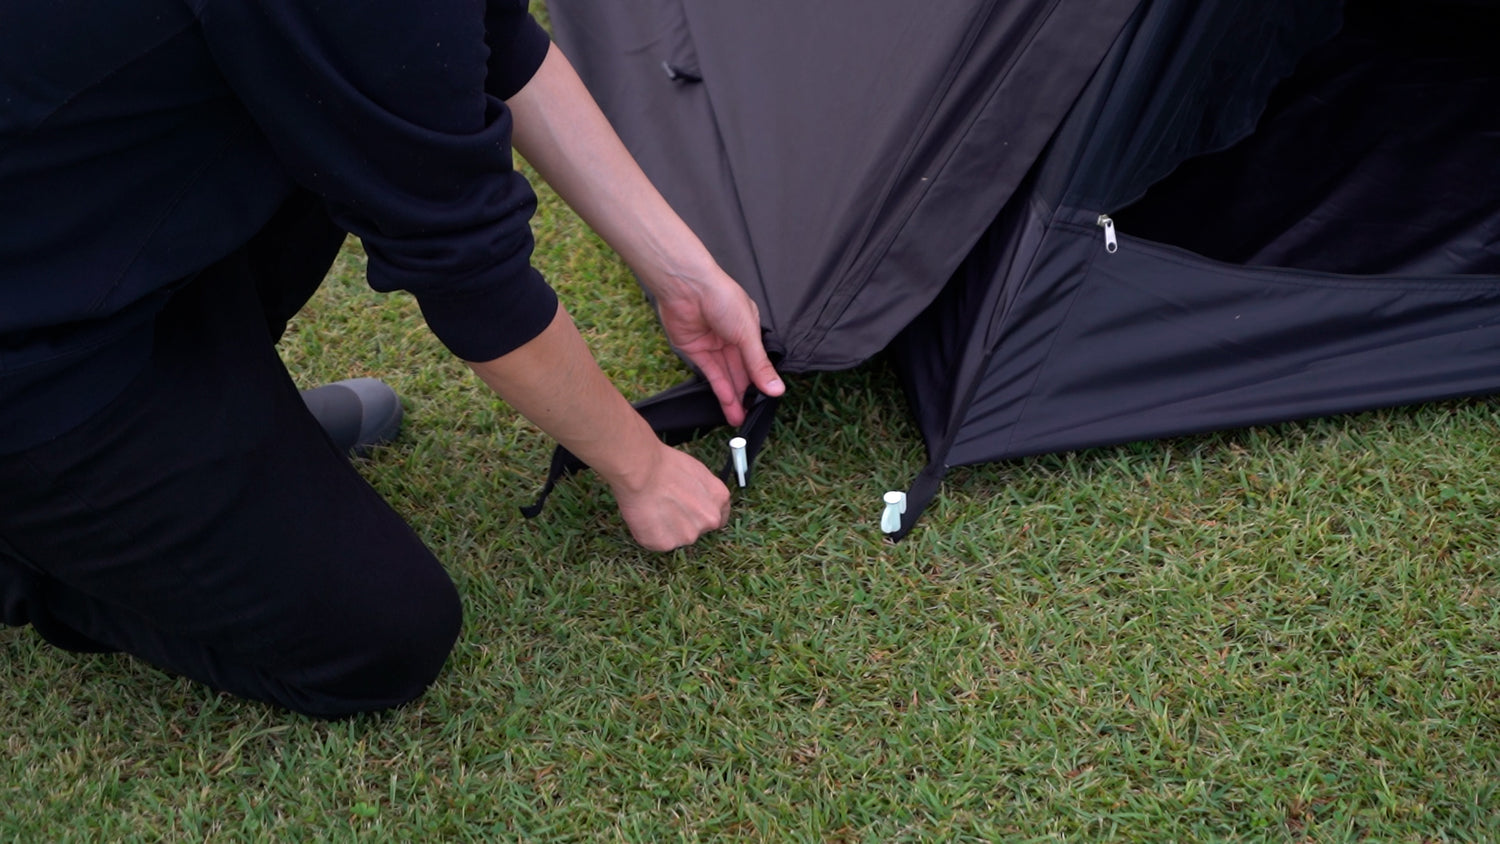
If you want more tension, adjust it using the adjuster.
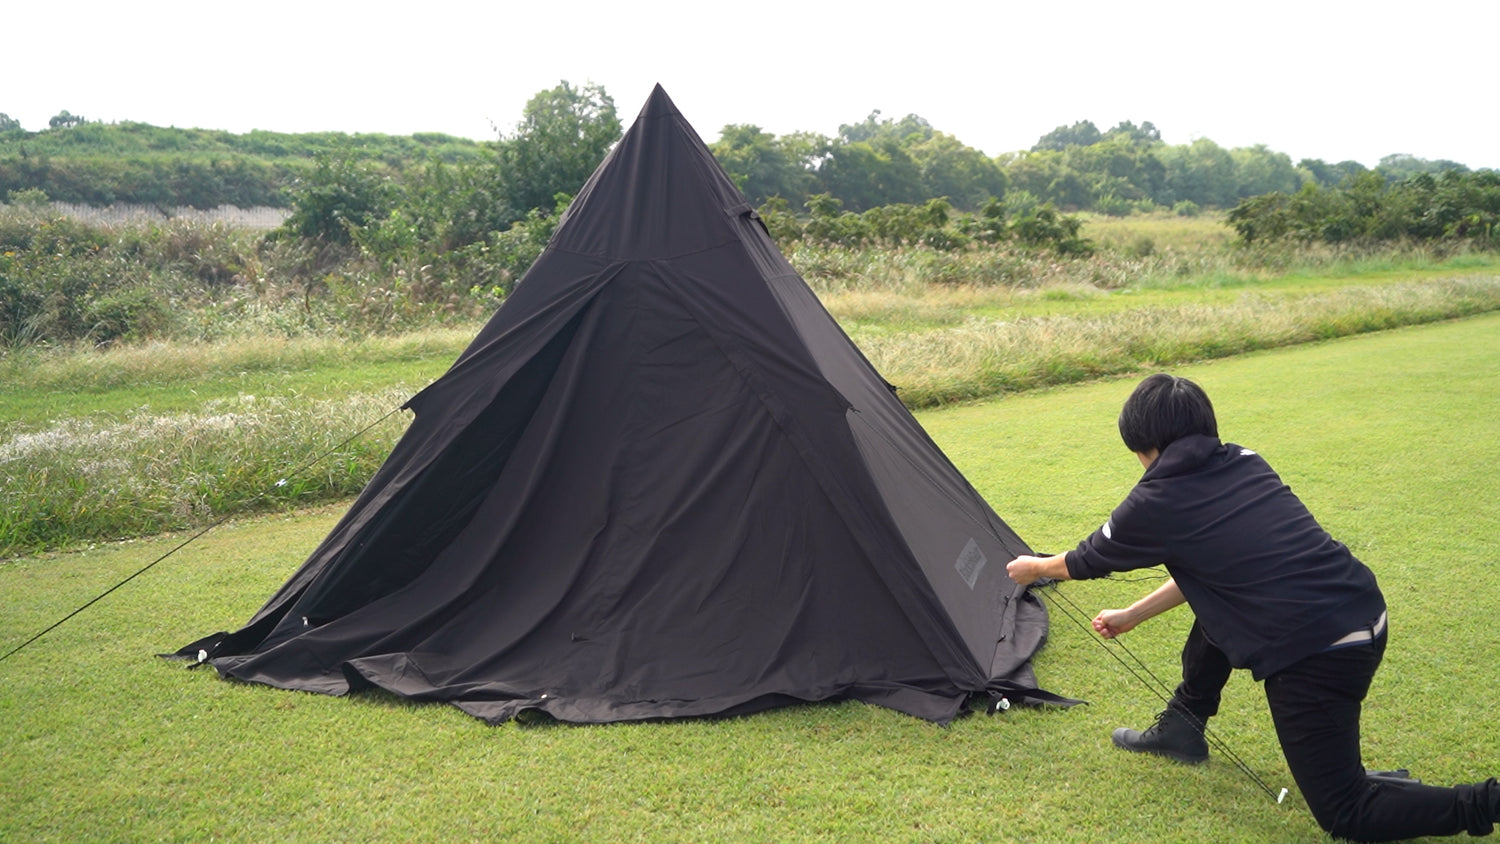
STEP 4. Customize the setup freely
Then, reinforce the tent by securing it with guy ropes
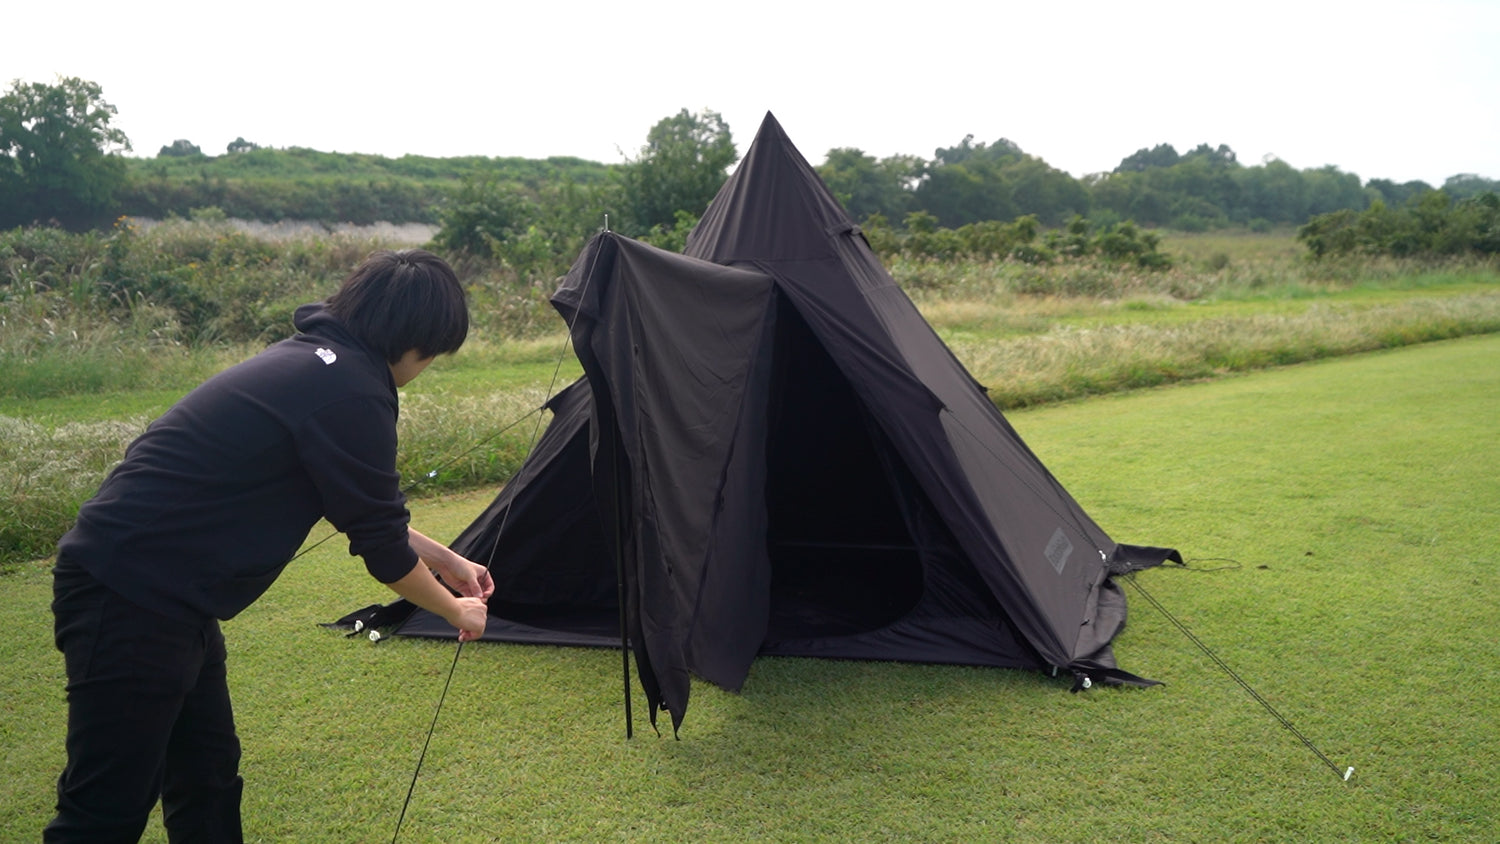
Use the included sub-poles to prop up the canopy
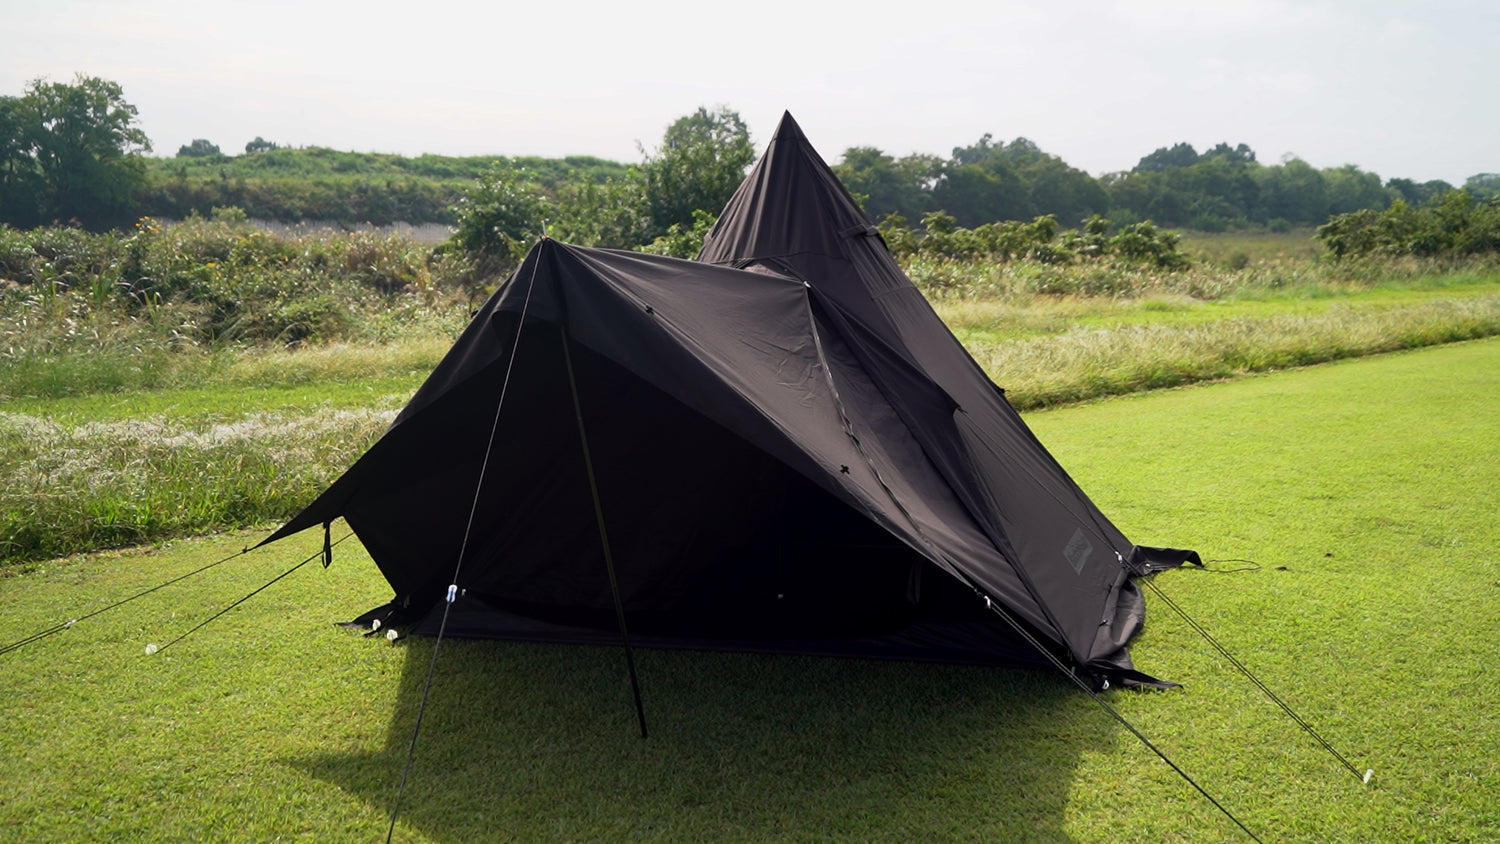
You can enjoy freely customizing your setup
▼Notes▼
・T/C fabric has high water absorbency and is slow to dry, so if it gets wet from rain, snow, or condensation, be sure to dry it completely after use before folding and storing it. Insufficient drying may lead to mold or mildew growth.
・Water droplets may drip inside due to rain or condensation.
・Be sure to perform a test pitch before use to check the assembly and verify all contents.
・Do not use fire inside or near the tent. This may cause the tent to catch fire or lead to burns.
・Ventilate the tent periodically, as condensation may reduce air circulation inside.
・When assembling the tent, be aware of your surroundings and set it up carefully to avoid accidents or injuries.
・Secure the tent firmly with pegs and reinforce it with guy ropes to prevent it from collapsing due to strong winds or rain.
・When taking down the tent, check the quantity of all contents and ensure that no pegs are left behind.
